|
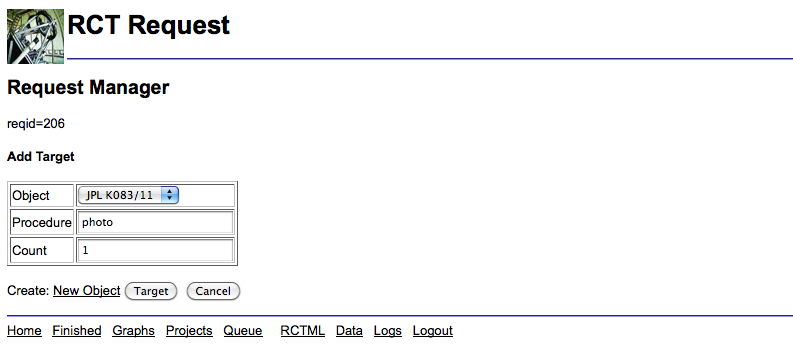
In this window you can select the target you want to assign to the request. Remember there is no need for the request name and the object name to be related but it helps you to remember what you've assigned if they are.
Here you can also specify the count - this is the number of nights over which you want to repeat the observation, for example, if you set the count to 7 then the observations would be placed into the queue until they had been successfully observed 7 times.
Note: This means that if there isn't room in the queue, the object is beyond a telescope limit or observations were not taken due to poor weather, your object will remain in the queue until the entire count has been completed. Also there is no need to change the procedure - at the moment the RCT is only equipped to take photometry so the procedure is always photo.
You should also be aware that the default for Count is 1 but if you input a 0 this tells the telescope to repeat the observations indefinitely. You will need to modify this parameter manually when you wish to stop adding this request to the queue.
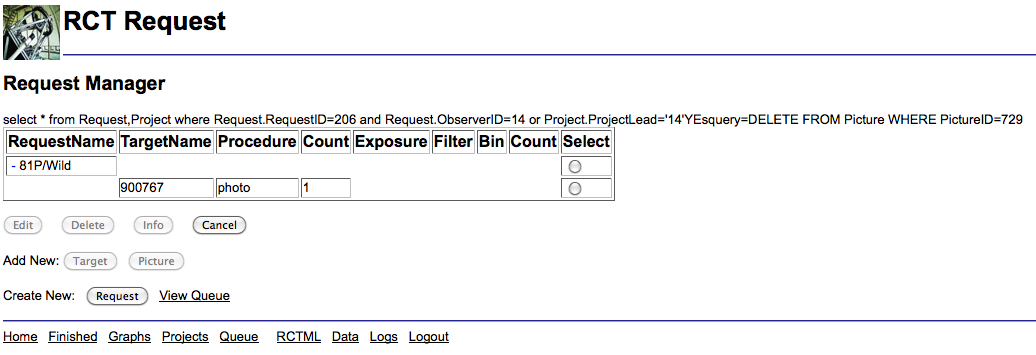
Click on the target button when you've finished adding all of your input variables to return to the Request Manager home page. The page should look almost exactly the same as before you entered the target information. However if you select the + sign next to the request name this will expand the table and show a second line of information which is the target data you just input. An example of this is shown in Figure 1.13 where the request target names are different. In this case I had to use the JPL Horizon's number to specify the comet but gave it a more obvious request name so that it would be easier to recognize in the queue.
|