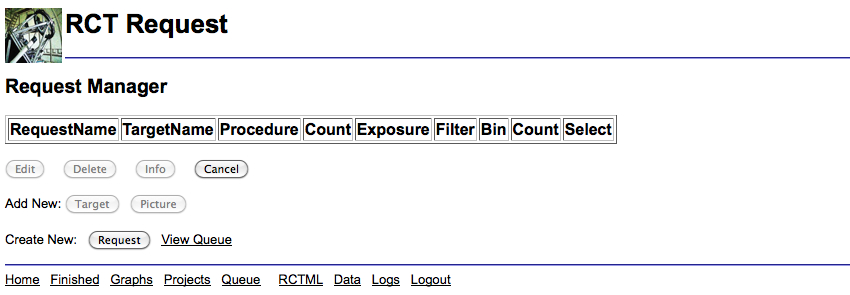
Once you select or create a project, and have specified all of the targets you wish to observe, select Manage Request and you will be taken to a screen which lists several options for creating Requests/Objects, the options for the Observing Queue and other Management Facilities (see Figure 1.4).
At this stage you probably want to set-up or modify the observation requests for the objects in your project. If this is the case select Manage Requests which will take you window listing your current observations if you have any (See Figure 1.9).
|
At this stage you most likely want to add a new object to your project or modify an existing object. If you want to modify an existing Object, select Manage Requests. This will take you to a list of all observations scheduled in this project. This is discussed further in Section 1.5. Section 1.4 describes how to add new stationary or moving targets to the project after you have selected Create Objects.
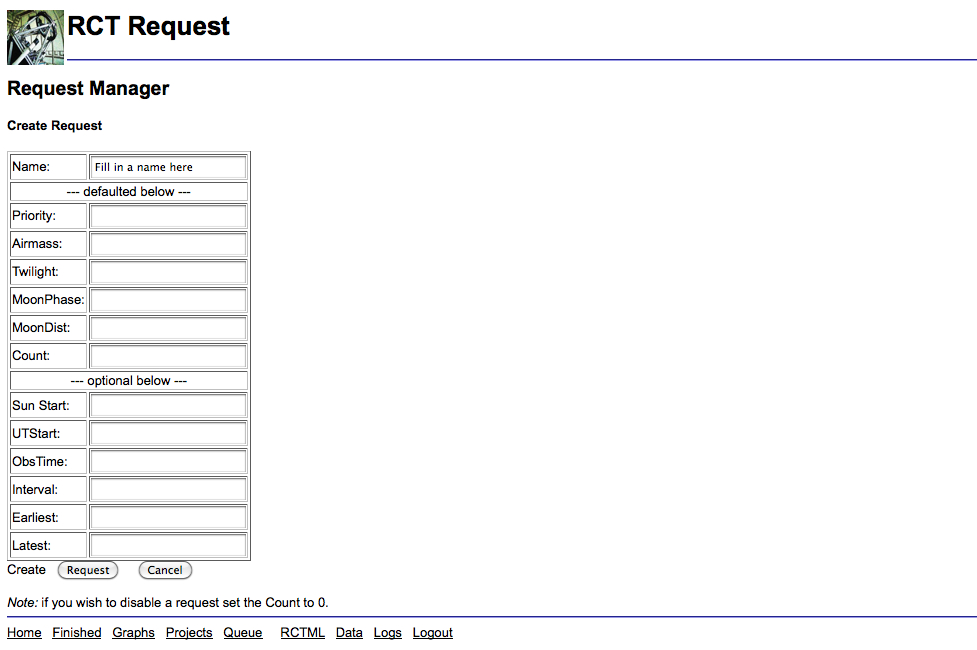
Click on the create new Request button which will take you to a page where you can now input the details of when you want to observe your object. The possible parameters you can input are shown in Figure 1.10.
|
The most important parameter to input on this page is the name as this is the name which will be visible in the queue. Most people like to choose a name which is meaningful (such as the catalog name of the object) but it is completely arbitrary and doesn't need to have any relation to the name input when the target was created.
Once you have filled in all the parameters you wish to constrain, the blank variables will be free parameters when the scheduler determines where to insert the object.
Note: If you hold your curser over the input box it will give a brief description of the parameter and an expected input format if necessary.
Click create Request and you will be returned to the Request Manager home page but now you should see your new object listed. For instance if comet 81P/Wild had been scheduled then the Request Manager home page should look like the one shown in Figure 1.11
The next step is to select the radio button for the request you want to work with. At this point you will be able to delete the request or modify it if you need to change the time parameters.
